Brought to you by SCARPA Backcountry Week
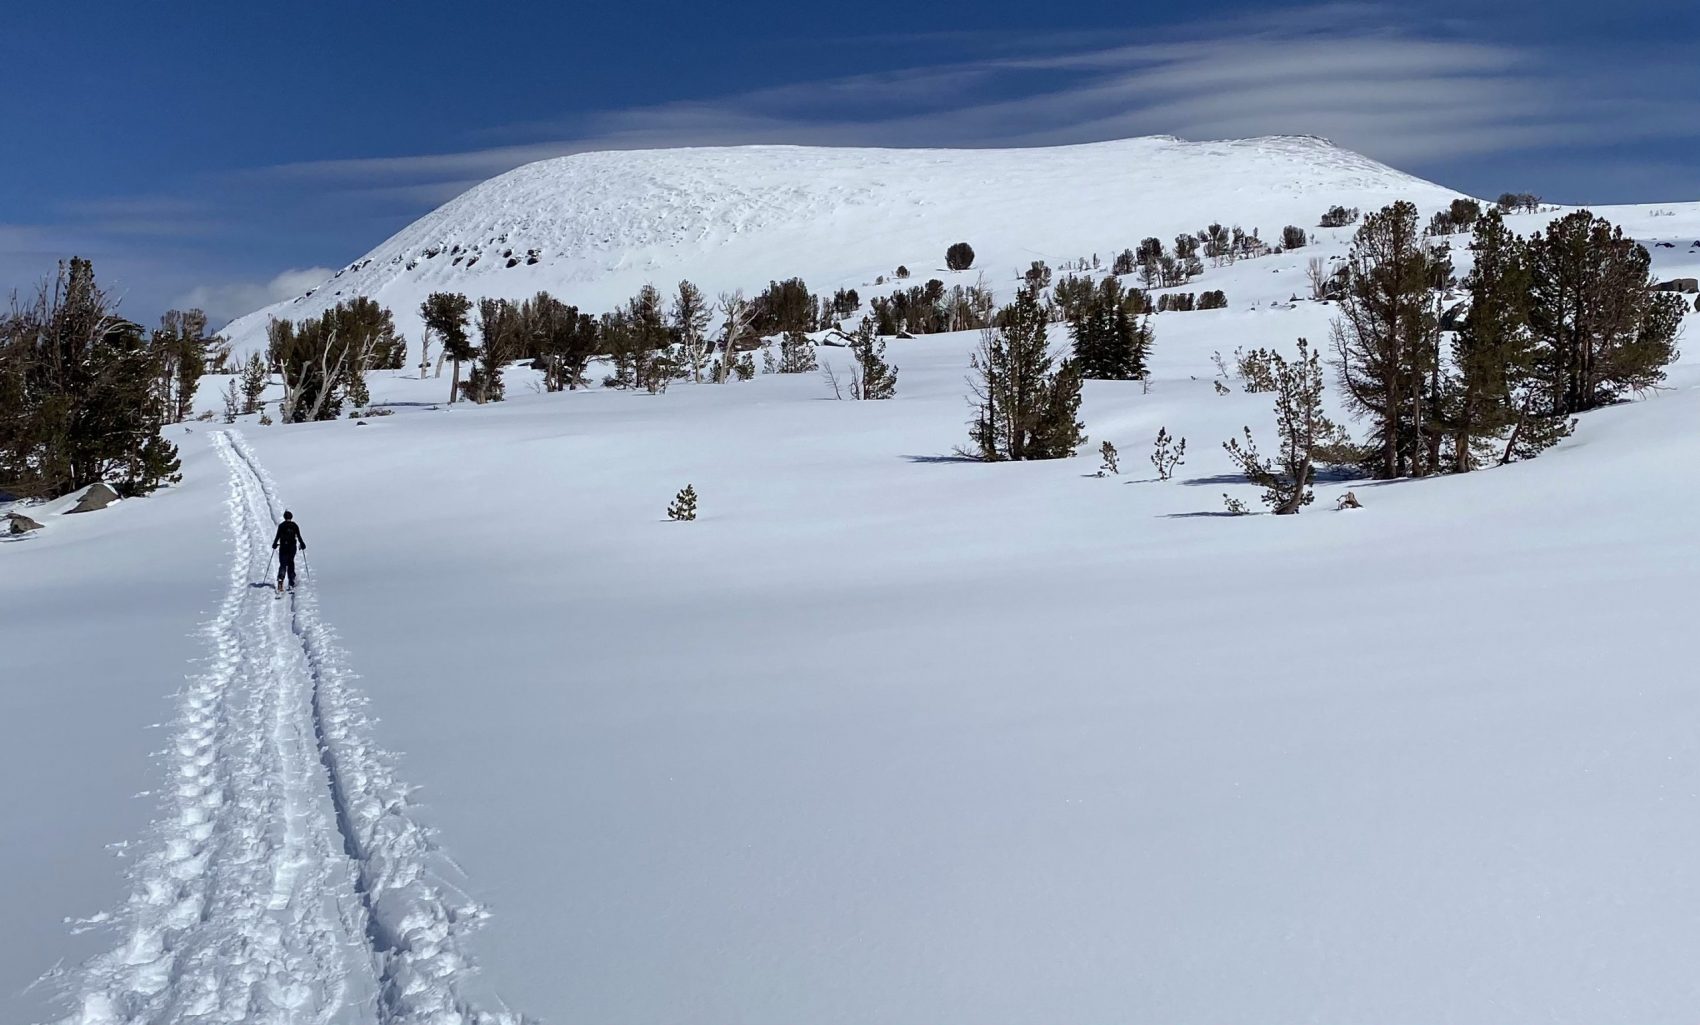
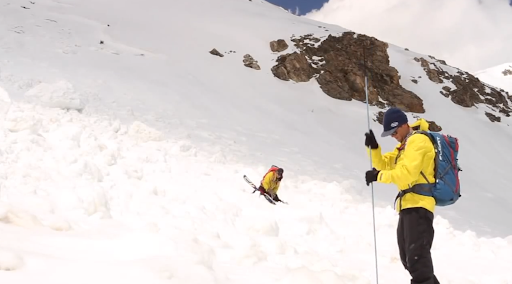
When it comes to backcountry skiing, gear is everything. That being said, the backcountry gear industry has exploded in the past few years, and fortunately, setups can be dialed for nearly every skier. Let’s jump right into it and talk about gear for backcountry skiing.
Boots
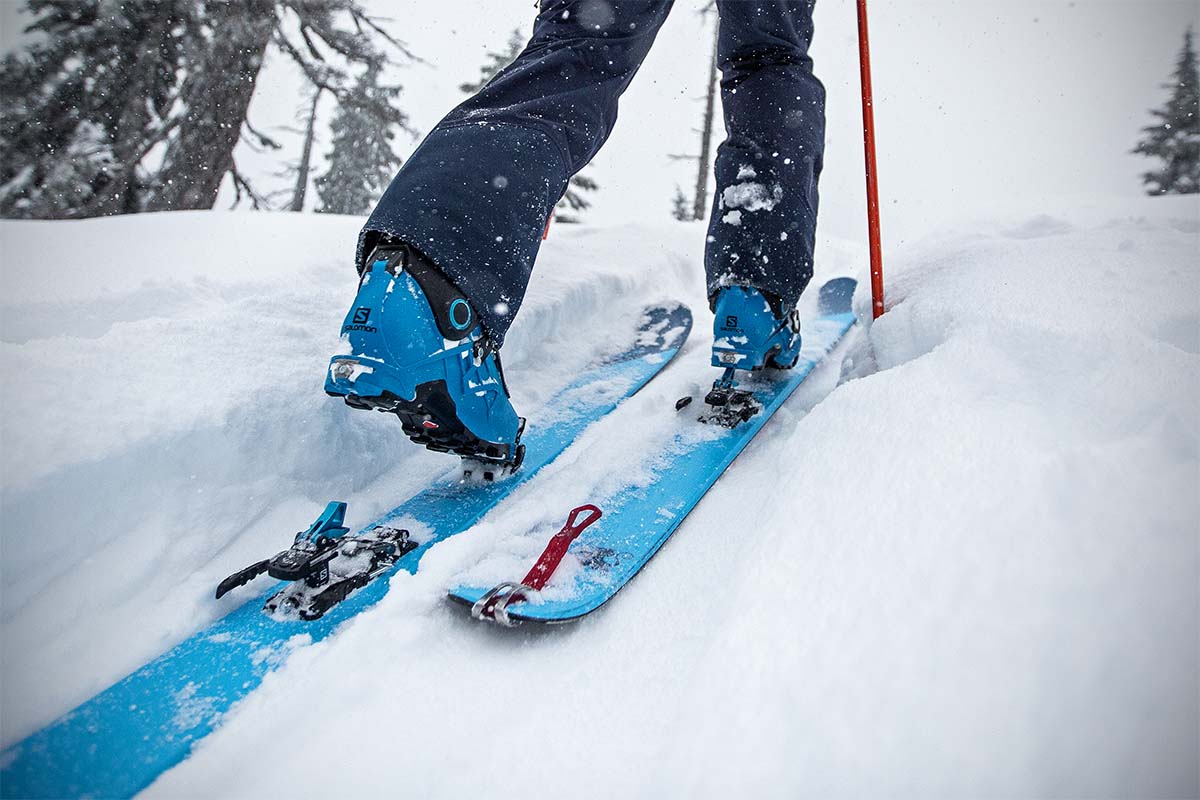
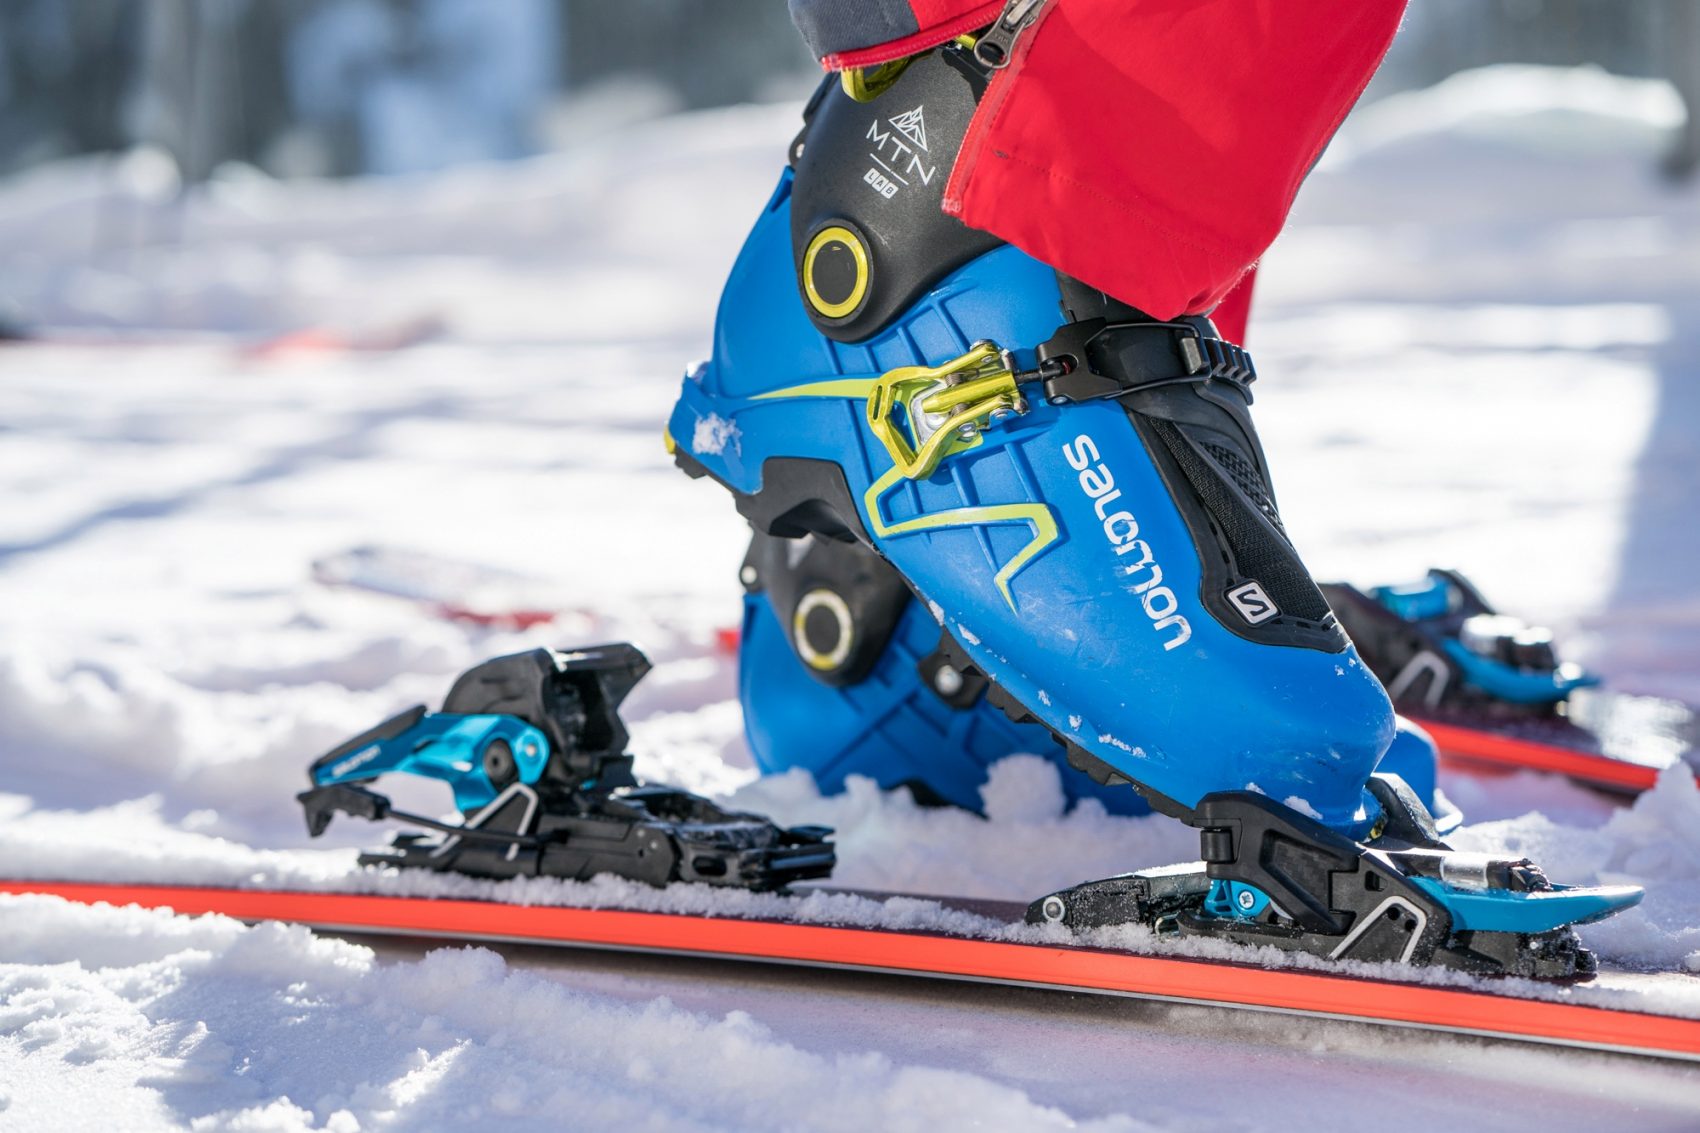
Boots are arguably the most important piece of gear for backcountry skiing. In backcountry skiing, 90% of your day is spent walking uphill, so making sure you have a comfortable boot is absolutely crucial. A comfortable boot fit should be your number one priority, and the number one way you can ensure you get a comfortable boot is by going to a backcountry ski shop and trying on their selection of boots before deciding. Do not order backcountry ski boots online.
Beyond comfort, there are a few things to consider in boots. One of the most important is binding compatibility. If you’re getting a set of touring bindings, be sure your boots are compatible. Most MNC bindings, including frame bindings and Shifts, require the boots to have a toe welt (the small part sticking out of the toe of the boot). Purely tech bindings don’t require this feature. (Note that toe welts can also determine boot crampon selection).
Another important thing to consider with ski boots is “beefiness.” Beefiness can basically just be defined as how strong (which is oftentimes strongly correlated with weight) the boot is. A fully downhill oriented boot would generally be “beefier” than, say, a randonnée race boot. A superlight skimo race boot is going to be less stable on the descent, but significantly lighter on the uphill, sometimes even as close to a kilogram lighter per boot than your run of the mill touring boot. That’s not to say that a light boot can’t perform well on descents, but it takes a very advanced skier to ski on a race boot if tackling significantly difficult terrain. And even then it’s difficult and sometimes unpleasant. The general rule of thumb is the heavier the boot, the better it will perform on the descent but the harder it will be to tour with.
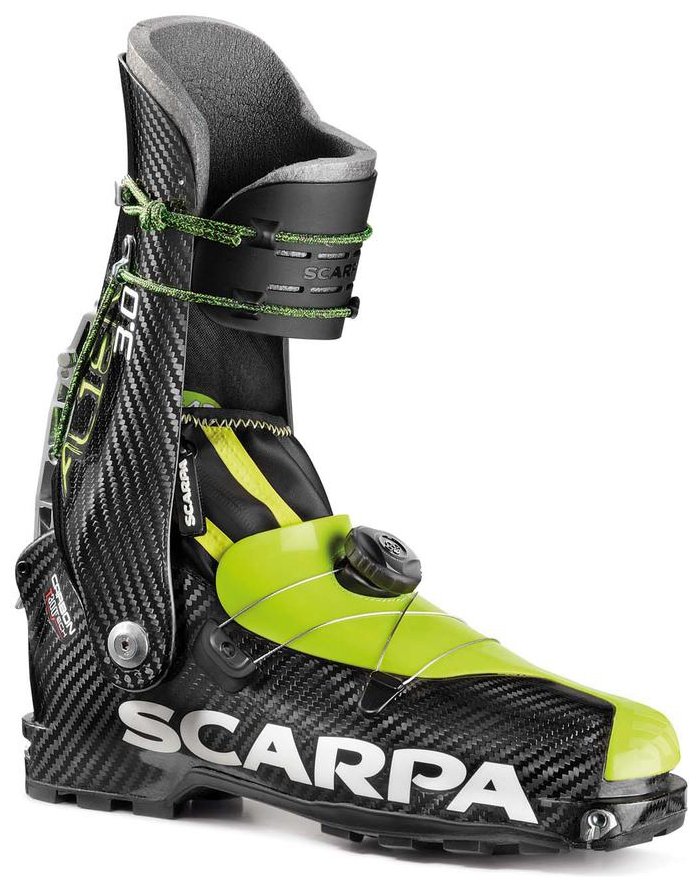
One last thing to consider for ski boots is the flex rating. Boots have different stiffnesses, and generally speaking (there are exceptions), a stiffer boot is better for advanced skiers and a more flexible boot is better for beginners. However, in backcountry skiing, boots have two different types of flexes. The flex when the boot is “locked” and the flex when the boot is unlocked, in other words, the uphill flex and the downhill flex. I already spoke about downhill flex, however, the uphill flex might be even more important. The uphill flex determines the range of motion that the boot can move in walk mode. The more range of motion the better, it makes it significantly easier to walk in.
Skis
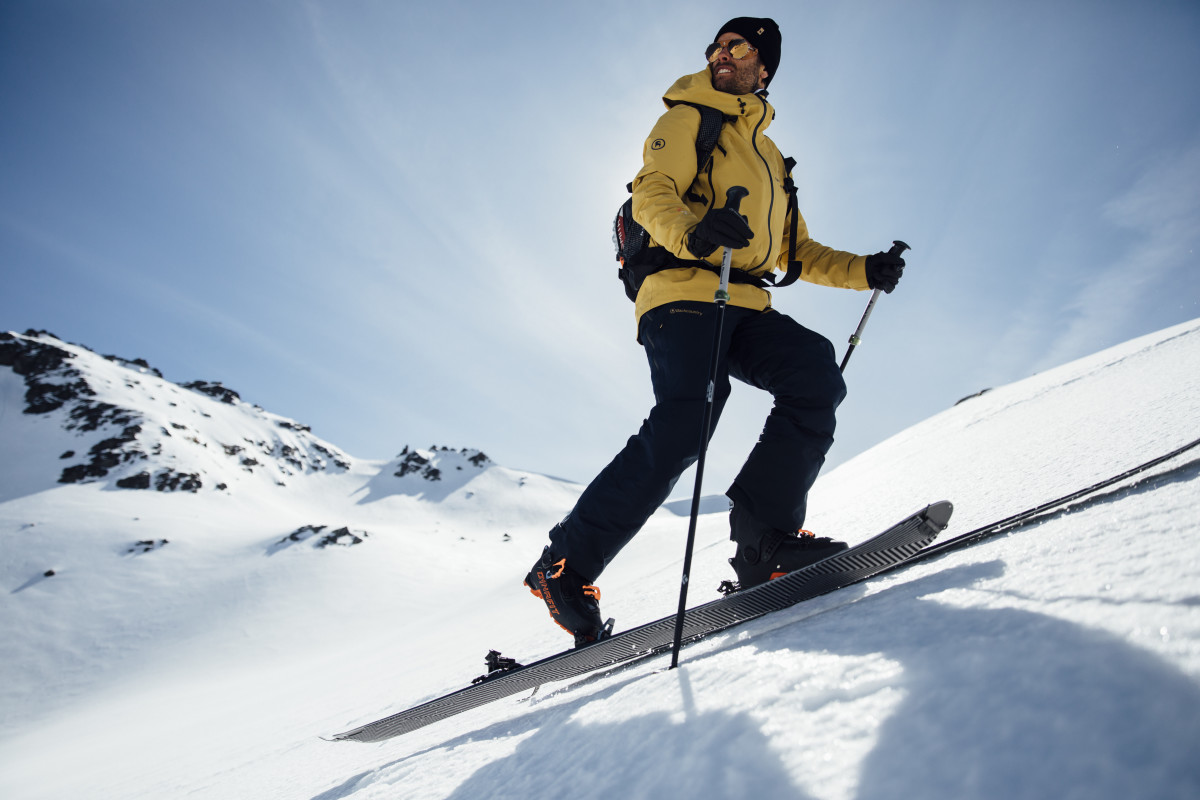
After boots, skis are the next most important piece of equipment you’ll carry with you into the backcountry. Just like boots, there are a wide variety of options to choose from. Below are a couple of things to consider when buying skis.
Length: in general, you want skis to be somewhere between your chin and the top of your head. Skis on the shorter end of that spectrum will generally be more maneuverable, and longer skis will perform more stably at high speeds with less chatter. Keep in mind, also, that a shorter ski will be lighter since there is less material in the ski.
Width: at the end of the day, width really comes down to A.) where you’re skiing and B.) what you’re skiing. On the east coast, where there’s less snowfall, a narrower ski will be appropriate, somewhere in the 95-underfoot-or-less range. In regions with continental snowpacks, like Colorado, Wyoming, and Montana, a ski between 95-100 underfoot is a nice width. In maritime snowpacks, like California, Oregon, and Washington, where it snows a lot and consistently has a deep snowpack usually warrants a ski wider than 100 underfoot. That being said, the use of the ski generally trumps these general rules of thumb. A race ski is at the narrowest end of the spectrum to save weight. At the other end of this spectrum is a powder ski for floatation in deep snow.
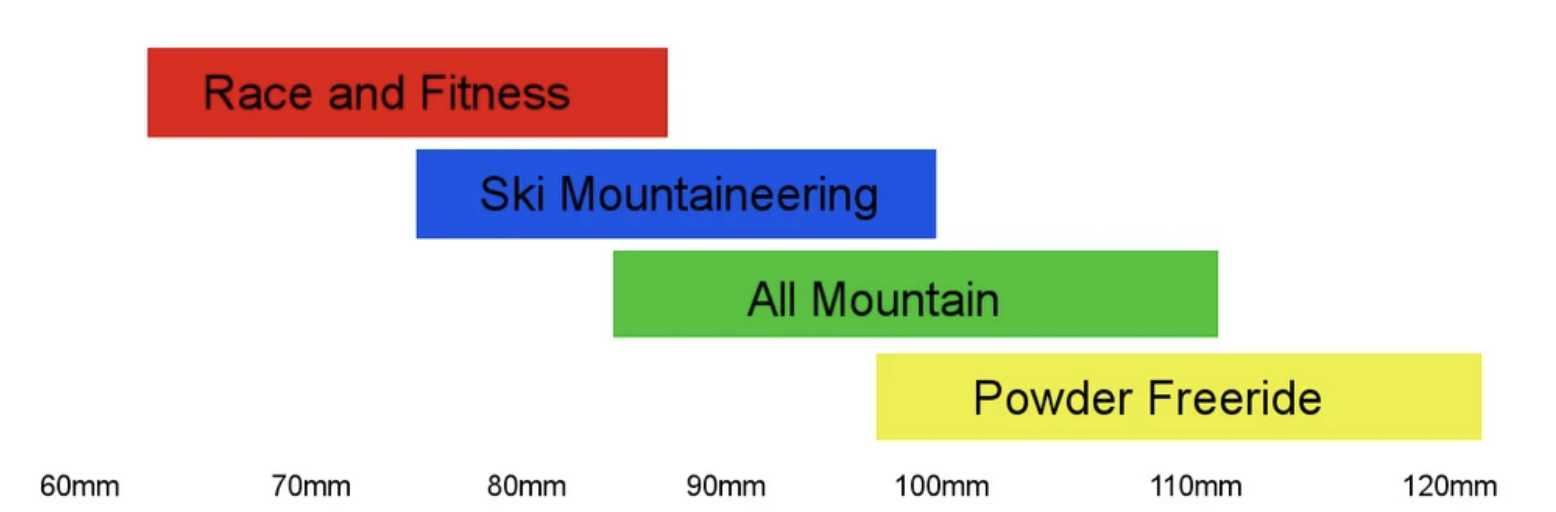
Weight: that was a perfect segway into talking about weight. Weight is arguably the most important aspect of a backcountry ski. A light ski will be a breeze on the uphill but might be a little bit less stable on the descent, whereas a heavier ski will be harder on your legs in the skin track but generally better on the descent. That being said, an advanced skier can maneuver well on a lighter ski, but it takes much more active shock absorption on the descent.
Bindings
It’s pretty hard to prescribe bindings over the internet, it’s best to go into a shop and see the exact model that they prescribe. I can give some information on 3 basic types of backcountry bindings.
Frame bindings are primarily used for side country, for tours that are short just out of the resort. They’re too heavy to really be practical for full-day tours. They are by far the most stable out of the 3 bindings.
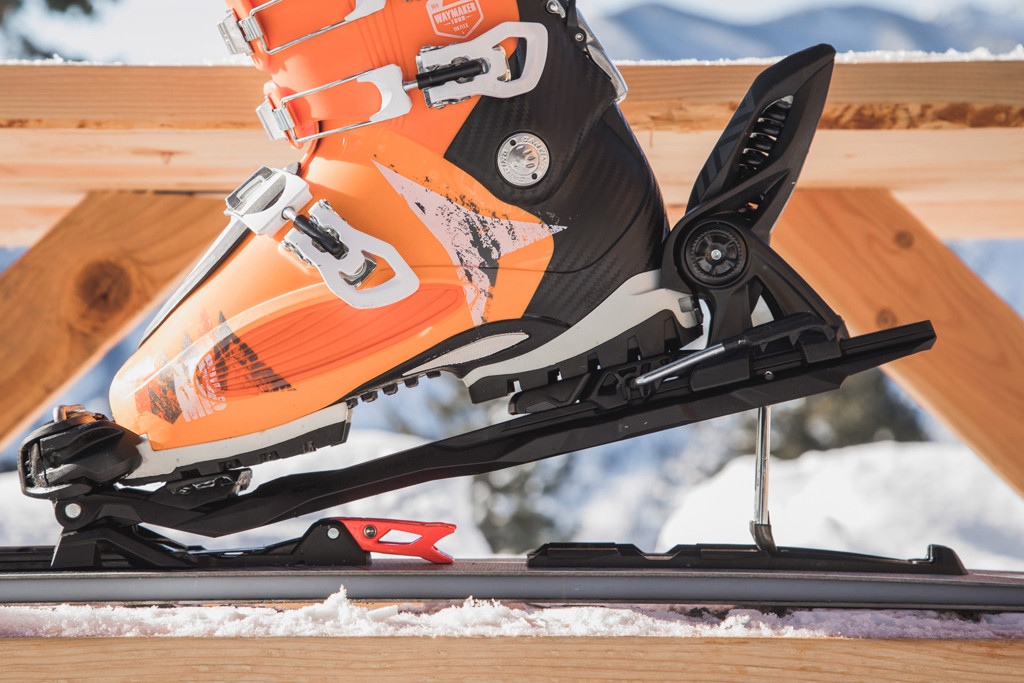
Tech bindings are the most popular backcountry binding. They’re light and easy to use but also come with the downside of being less stable than the other two binding types. Tech bindings are ideal for long approaches and any skiing other than skiing ski movie-worthy terrain at ski movie-worthy speeds.

There exists a hybrid between these bindings that have emerged in recent years. Bindings like the Salomon/Atomic/Armada Shift, Marker Duke, and others feature uphill touring features of a tech binding with the downhill safety of a frame binding. These bindings are great for your everyday ski tourer who cares about their knees.
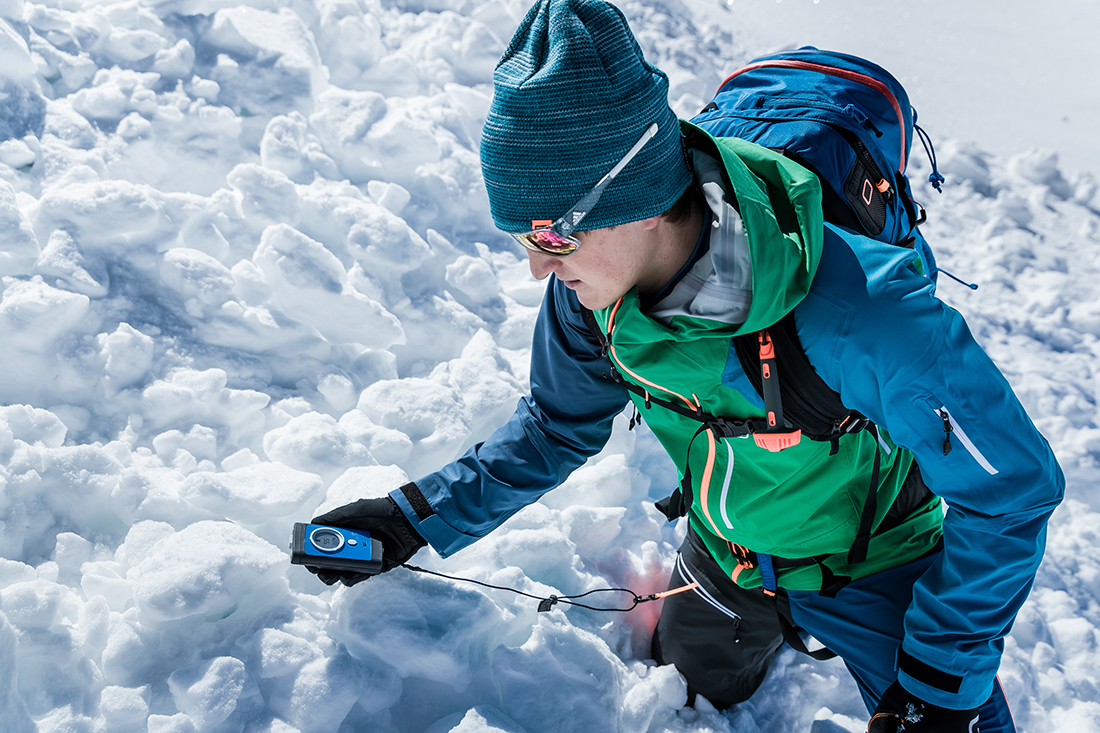
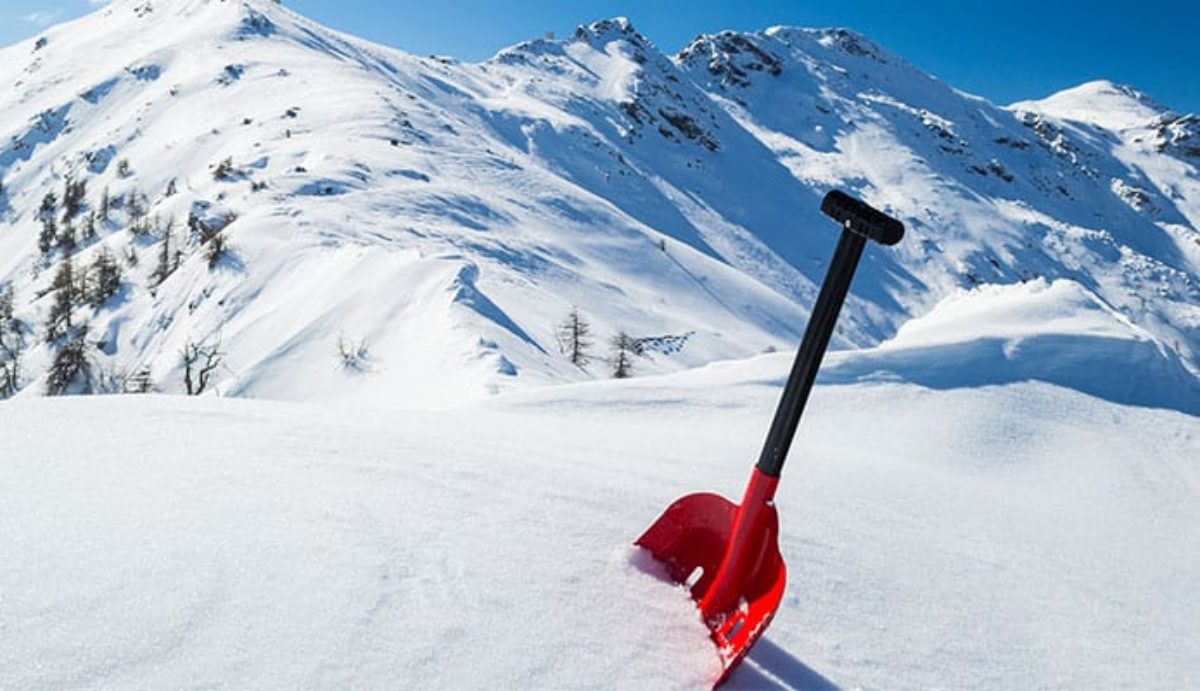
Avalanche safety equipment
Beacon, shovel, and probe. The three hallmarks of avalanche safety equipment in the backcountry. You should never, under any circumstance, venture into the backcountry without these three things (and a partner!). There’s a whole science of how to do these things the right way which an AIARE class will help teach, but I’ll give a basic overview.
In the case of an avalanche, the beacon is the first thing you would start with. A beacon allows the searcher to pick up radio signals from their buried partner. A standard pattern is a zig-zag down the slide path, each time crossing about 40m down from the path above and 20m from each side of the slide path (the range of most beacons is about 20m). This will allow you to search more terrain faster.
Once you’ve located your partner’s beacon and gotten the value zeroed in at the lowest possible reading, a probe comes next. A probe allows you to probe down through the snowpack until you hit a body to determine the precise location. Start probing at the lowest beacon reading and spiral outward, with each probe 25cm away from the last.
Once you’ve hit a body, shovel time. Shovel as fast as you can down to them, and once you reach them, find their head. It is crucial to free their airway as fast as possible to get them fresh oxygen. You can worry about freeing the rest of their body after that.
My setup reviews and experience
I’ve owned two backcountry setups now, and I’ve learned a lot.
My first setup was a pair of Salomon Shift bindings mounted on Elan Ripstick 106 167cm skis back in 2018. Over the course of skiing on these skis, I toured on a pair of La Sportiva Synchros and a pair of Scarpa Maestrale RS. Both boots worked great. They’re both in the middle of the weight spectrum, but both of them were beefy enough to drive a heavy-ish ski on extreme terrain at high speeds. Toward the end of my tenure with this setup, I began doing longer and longer days. Touring 10-12 miles a day on the heavy Salomon Shift bindings on a pair of heavier skis combined with the fact that I had pretty much outgrown the skis by now forced me to get a new setup. Overall, it was an awesome setup that I would recommend for someone who is doing short to medium tours and skiing expert terrain.
The emphasis of my new setup was economizing weight to allow me to do big days. I have a pair of G3 Zed bindings mounted on DPS Pagoda 100 184cm skis with Scarpa Maestrale XT boots. The Pagodas, new this season and weighing in at just under 1,500g per ski, are pretty far on the light end of skis. Overall, I’m shaving about 1,400 grams off my previous setup. A general rule of thumb is that every 100g added to your setup (below the knees) is about 1% loss in VO2Max efficiency, meaning with my new setup I’ll be able to tour 14% faster or 14% further. Great for long approaches. I only have one day on the new setup, getting my August skiing a few weeks ago, but I was surprised by the stability. Seems like DPS has struck a nice balance between weight economy and stability/chatter resistance. Can’t wait to get these puppies out on any snow that isn’t August snow!
A snowmobile
Too often I meet new tourers that ran out of money after the nice boots and skis, and dont bother with the rescue or education side of things, sometimes ever. Articles like this continue to promote that behavior. In a year where touring gear is absolutely going to fly off the shelves, spots in AIARE classes will be hard to come by, people are opting out of ski passes to give that backcountry thing a shot, and more “experienced” users will be venturing into more dangerous terrain in search of fresh tracks as the easy pickings will look like a mogul field, we really need to stress taking a breath and thinking hard about the realities of backcountry skiing and riding.
I see you have written other articles about intro backcountry concepts, and that’s great. But I bet your metrics show you people click on gear posts a hell of a lot more than they do terrain choice articles. Maybe consider hammering in education topics in these gear posts. A lot of us in the education community are worried about these issues even more than usual this season. Stressing education on large websites that a lot of eyeballs see would be super helpful to making this year successful.
When you get older and all your favorite skiing spots are all blown out, crowded and tracked up, your gonna regret making all these lame bc skiing articles…