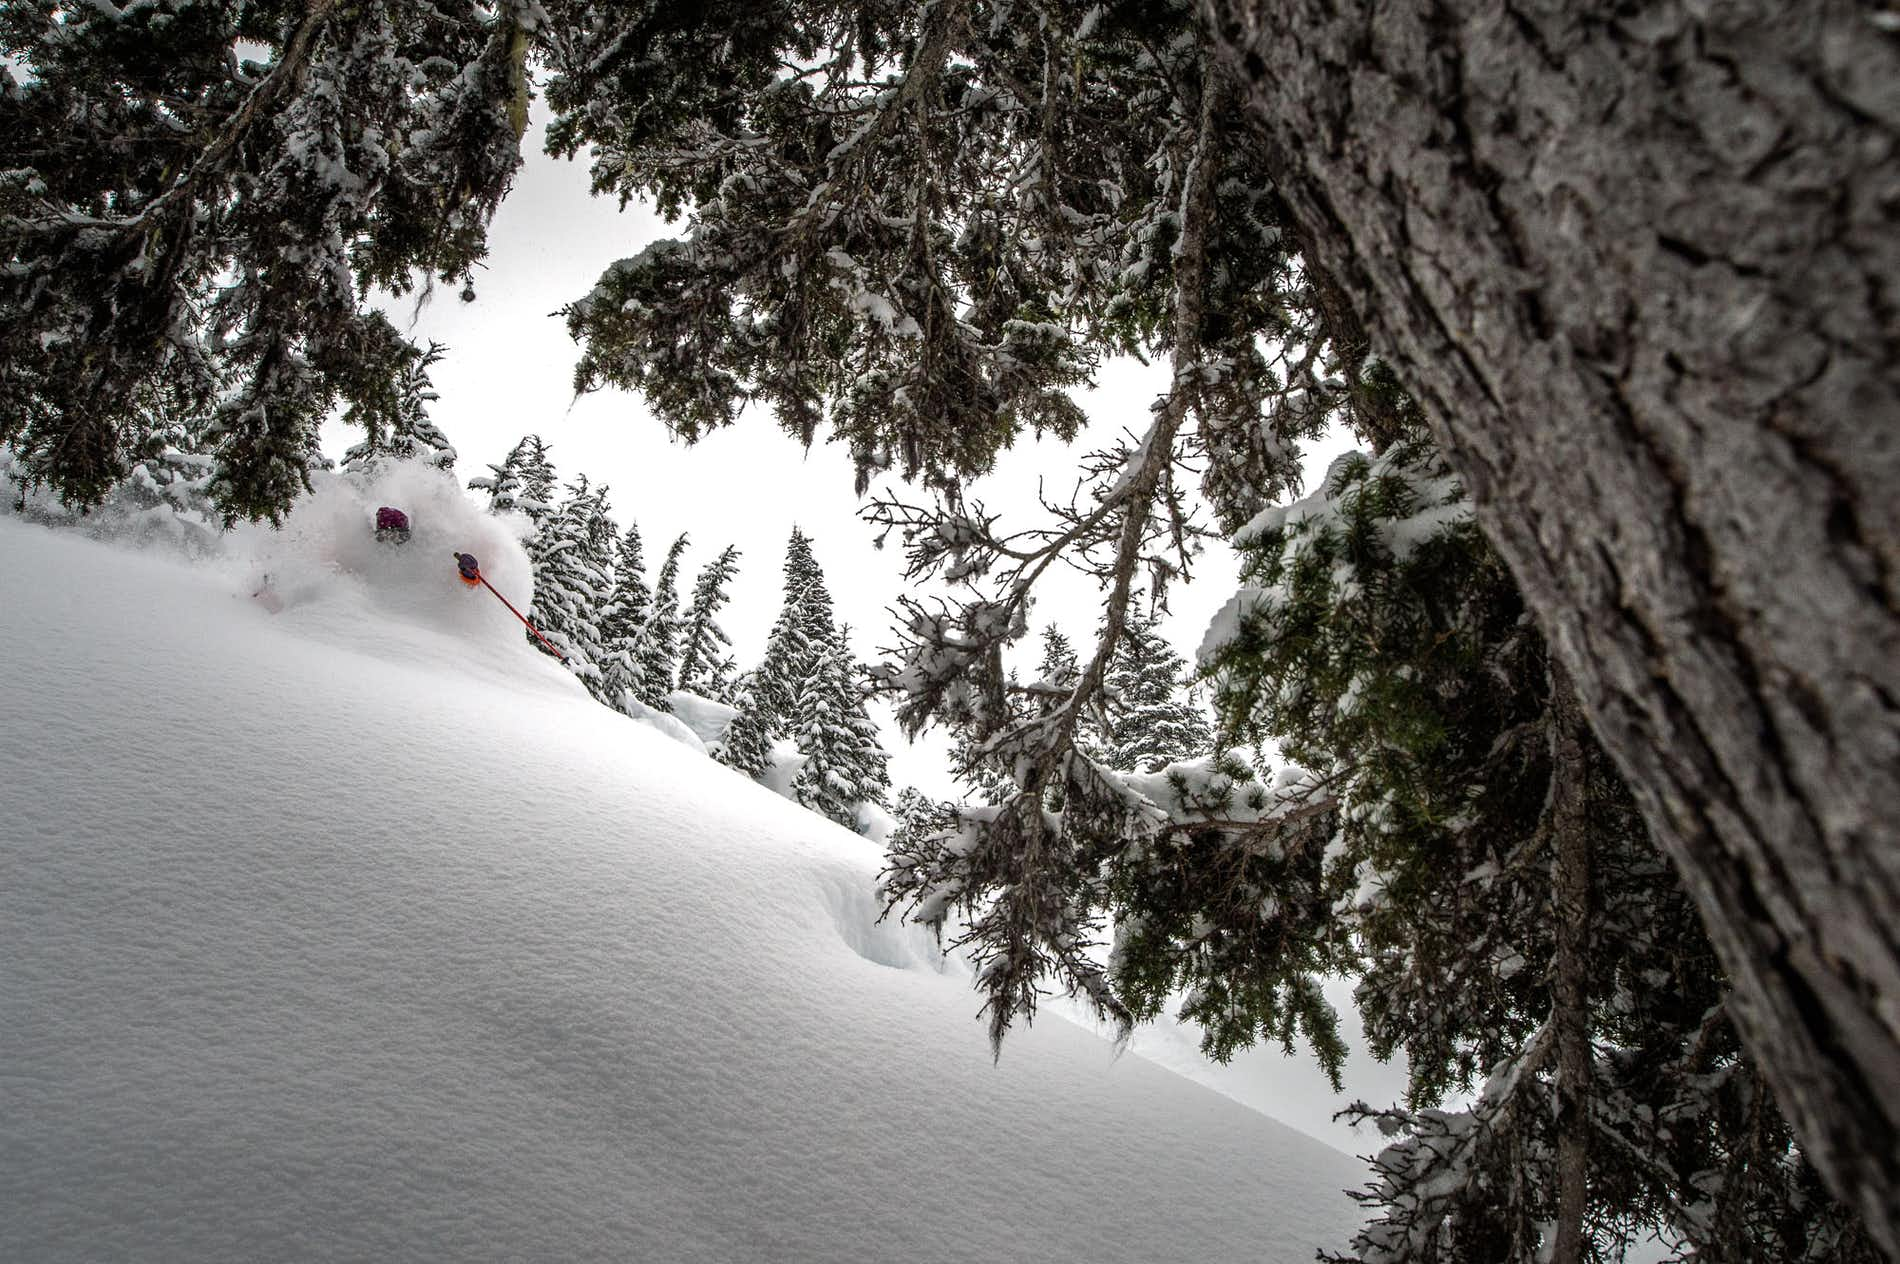
Sure, ski days are the greatest, but what makes them even better is getting some amazing photos on your smartphone to impress your friends with later. However, all too often you know that you hit an epic jump, but when you pull out your phone later it just looks like a blurry mess. Thankfully, smartphone cameras have gotten better and better, and people have quickly learned all the best ways to make them work, even in cold and snowy conditions, so you never blow the moment and miss out on a great shot. You don’t need an expensive photographer or a heavy camera to lug around the hill with you, just keep your phone in your pocket and these great tips and tricks up your sleeve.
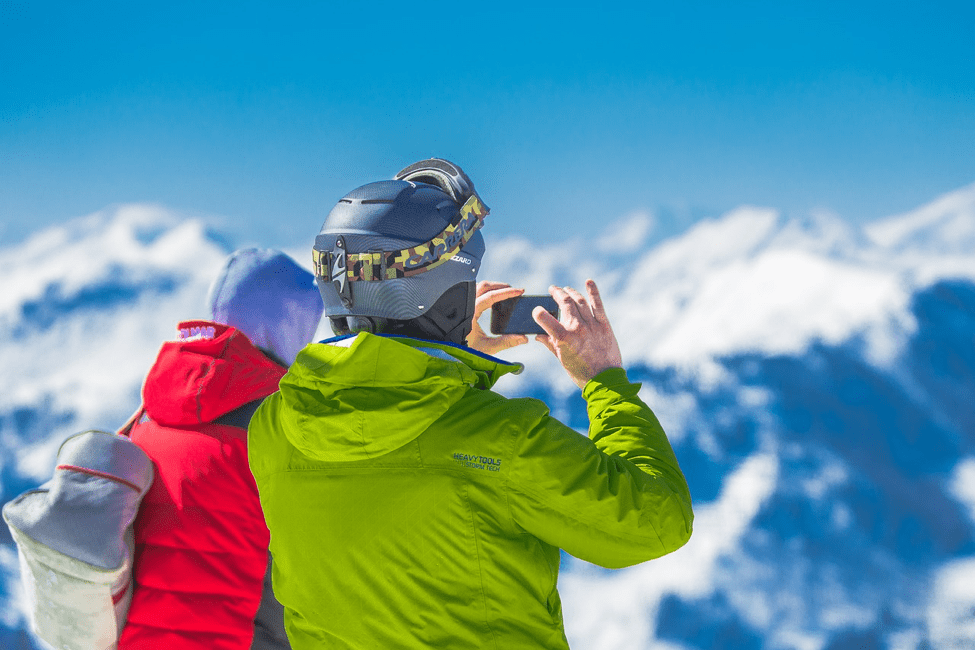
- Preparing Your Friends: Make sure that you coordinate your shots so that your skier/snowboarder knows where you want them to turn and look; throwing snowballs is a great way to indicate exactly where you want them to go! Wearing bright, solid colors will also help your subject pop out against the white background. If possible, also try to get your friend to slightly overemphasize their movements by making extra deep turns and tucking during jumps to really show off their skills.
- Still Images: If you’re taking a close up photo when the subject is not moving, the best way to make sure that they are clearly visible is to switch on your phone’s flash so the subject doesn’t turn out too dark against the bright snow. Try not to use your phone’s zoom when taking photos since smartphone cameras use digital zoom instead of optical zoom, meaning that a lot of resolution and detail is lost if you zoom in. Instead, move as close to your subject as possible. Sprinkling a little snow in front of your phone can also add some fun detail to an image.
- Landscape Images: One great way to get a stunning shot of the view is to put your phone in panorama mode so you can capture the entire scene. Be careful not to accidentally disturb any fresh snow that you want to photograph.
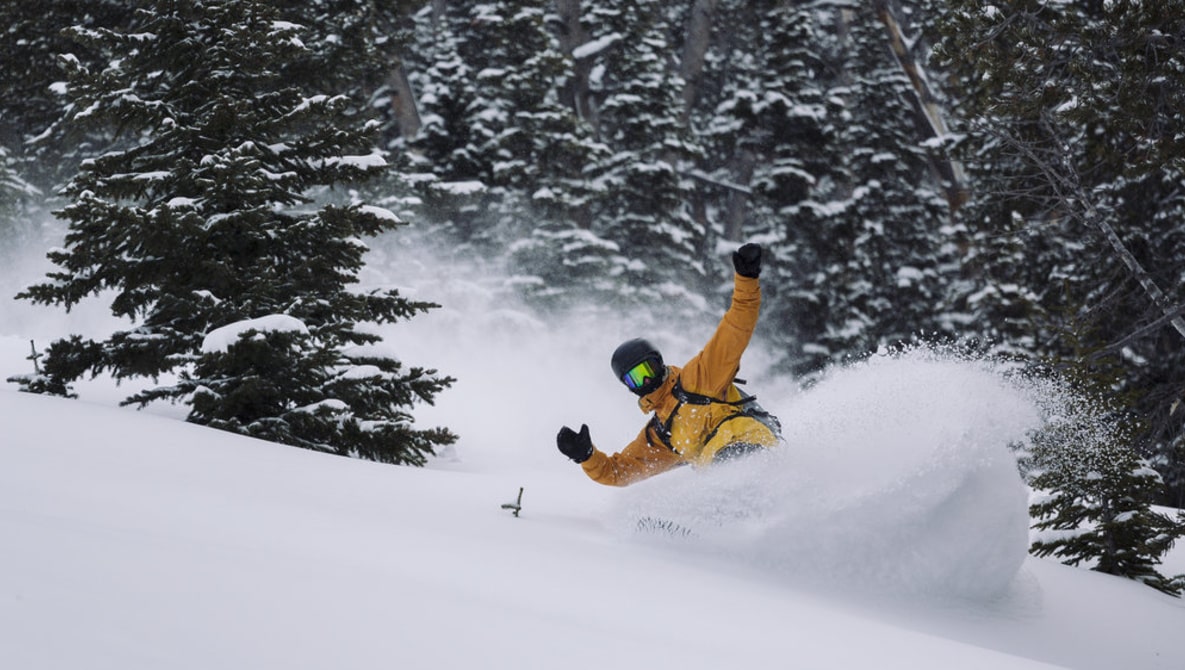
- Actions Shots: To ensure that your photos don’t come out blurry, using either the live photo mode or the burst mode (on most phones you hold down the camera button and a burst of photos will be taken) will make sure that at least one of the shots comes out clearly. More practice with your phone will also help you get used to how fast it takes the photo and what its autofocus tends to pick up. Since there are often trees and other objects in your shot, it is also a good idea to manually set your focus just by tapping on your screen so that your phone knows where the subject of the photo should be. Leaning against something solid or pressing your elbows into your sides will also help you stabilize your shot.
- Camera Settings: Since smartphones aren’t specifically designed to be used in snowy conditions, their automatic focus and exposure settings often need a little adjustment to get a good image. The best way to do this is by first setting where to focus (tap on the screen) and then adjusting the exposure (swipe up or down on the screen to increase or decrease exposure). Automatic exposure settings tend to under-expose snow photos because the brightness of the snow makes the phone want to make the whole image darker, but this can often result in the subject being very dark and hard to see, so it is actually better to swipe your exposure up to make the photo slightly brighter because then even if you reduce the exposure in post-editing, you will be able to retain the detail in the shot.
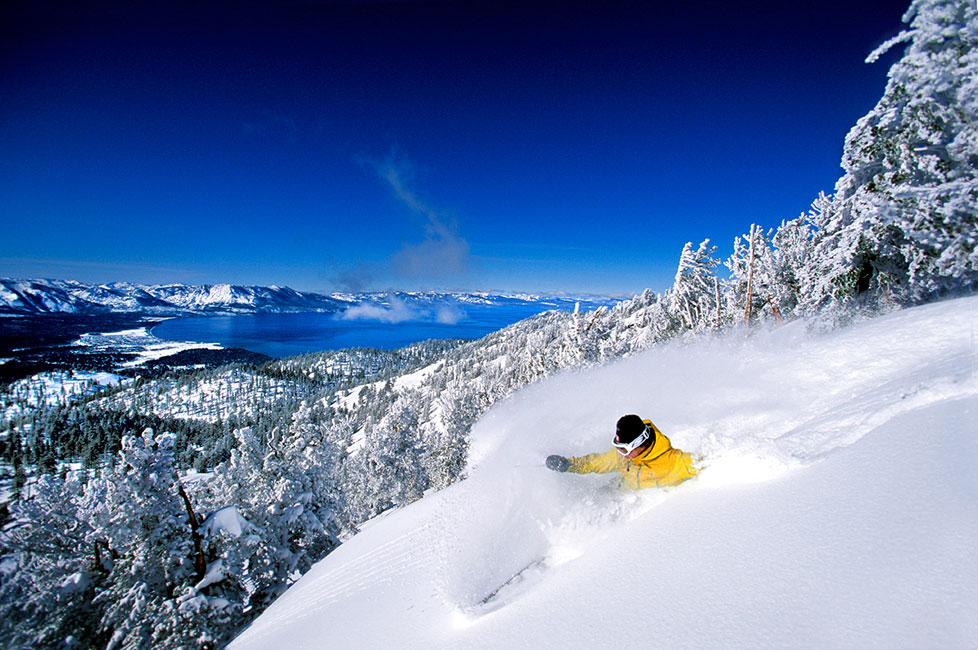
- Lighting: Generally, shooting in either the early morning or late afternoon is much easier because the sunlight will be softer and not as unforgiving. However, if you can’t convince yourself to roll out of bed at 5 am then great shots can also be found during the rest of the day. On a sunny day, head for open spaces and steep lines as the sun, sky, and shadows will provide good contrast and your subject’s bright clothes will really pop out. If it’s cloudier, then trees are your best bet because their darkness will break up the sky and the snow. As brutal as it’ll feel, a super cold day will also make for some fun shots as the snow will glitter and blow in the wind.
- Setting Up The Shot: Good photos tell a story, so try to include the past, present, and future of the subject’s path; for example, if they are hitting a jump then don’t crop out the landing and approach. Providing depth in the image also makes it more interesting; this means placing objects (think trees, shrubs, rocks, and other natural features) in the background, foreground, and midground, but try to have your subject be the only focus in their layer of the photo. Directly behind and around the skier should be as clear as possible so that they stand out; wearing bright colors will also help with this.
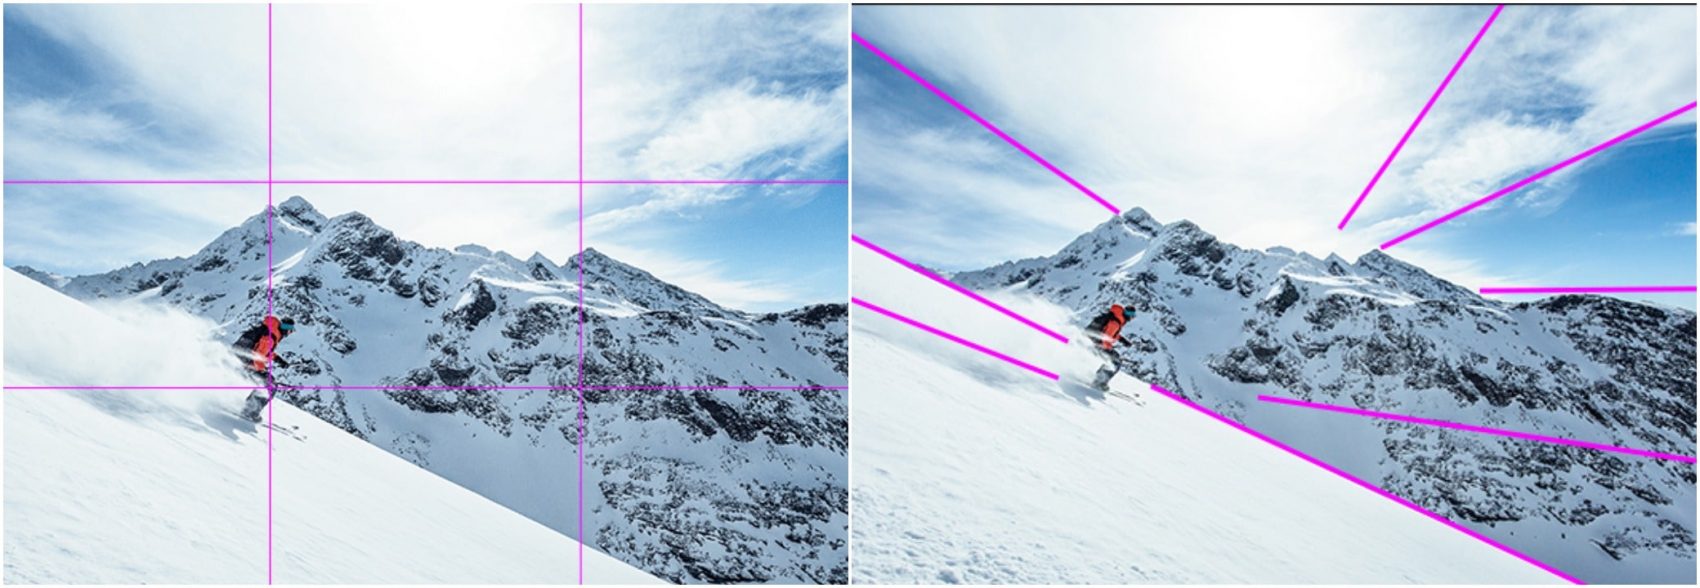
- Simple Composition Rules: My go-to photo compositions are two of the basics, but they’re the basics because they just work. First is the Rule of Thirds, which most smartphones can actually display on your screen for you (check your camera app settings). The idea is to divide the image into horizontal and vertical thirds, and then place focus points where the lines intersect. Aligning the horizon or slope edge with one of the thirds lines can also provide good balance in your photo. The other technique that is easy to recognize is Leading Lines. Try to find any type of line in your image -tree branches, light, or dark spots that form lines, shadows, rocks, the mountain shape, or anything else- and then align as many of them as possible to be pointing towards your subject. It sounds hard, but there are more lines in nature than you would expect, and changing your angle or position to make lines point towards your subject will really pay off because it helps guide the viewer’s eye right to what you want them to see.
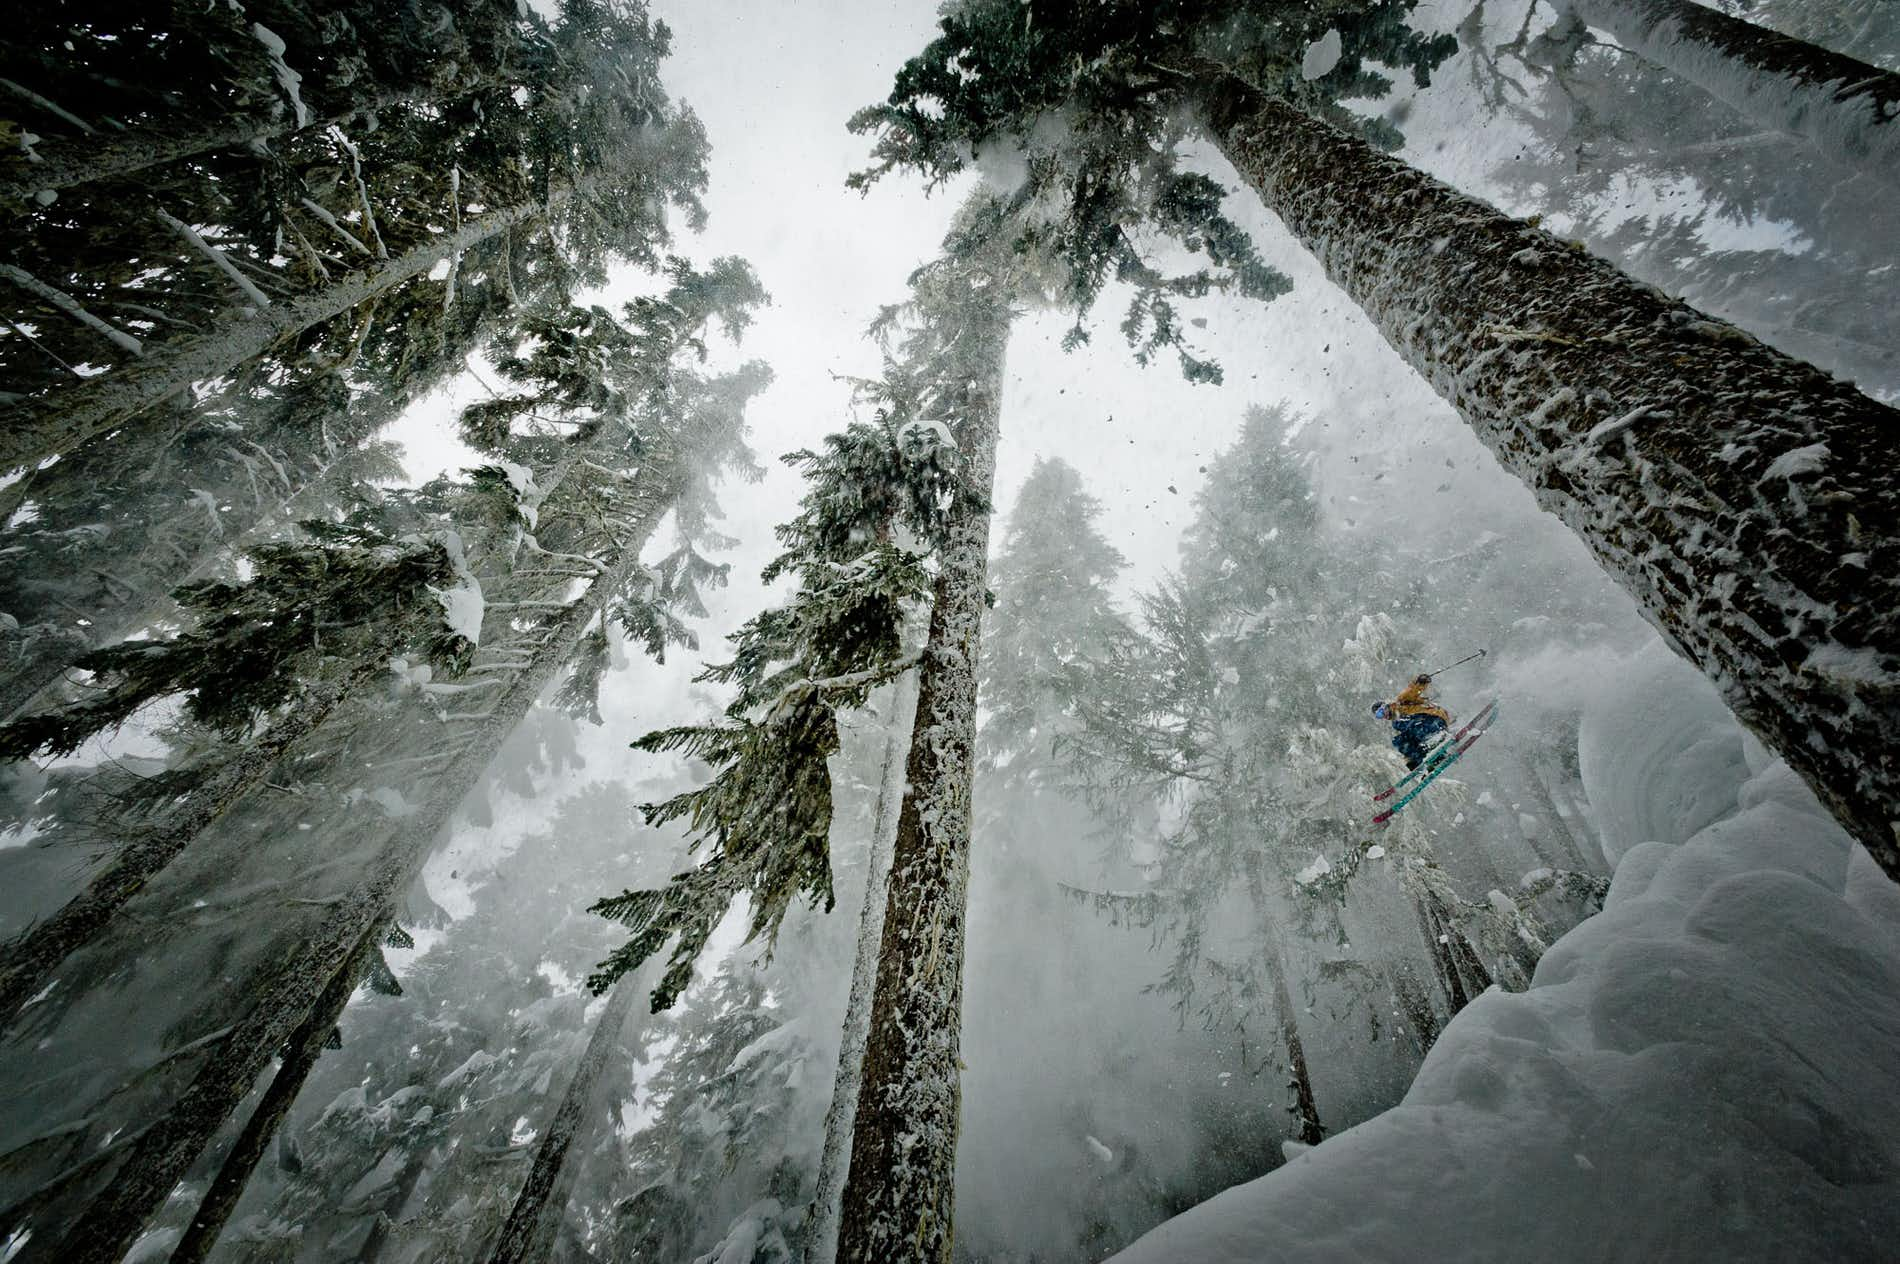
- Angles: To show off the steepness of a line, shoot from below the skier at around a 45º angle. Always take more than one shot and try out lots of different angles, you can always delete photos later. Playing around with your position, angle, and focus can lead to some great shots, so try getting really close to a tree branch or shooting from the ground for jumps.
- Safety: Don’t shoot in a busy area of the hill or somewhere where people can’t see you from above, getting plowed down by a stranger will definitely ruin your photo. Dress warmer than you would if you were just going out for a normal day; the standing around and prep involved in getting a great photo will quickly make you freeze. Be careful not to allow condensation to form in your phone when you go inside to a warmer space. Keeping it in an inner pocket will help it not get too cold (and conserve battery) when you are outside and then trying to warm it up slowly if possible will also reduce the risk of water damage. If you are really concerned about water damage or if you have an older phone that is more sensitive to water than the newer, water-resistant smartphones, then putting your phone in a large plastic bag when you go inside will also help it warm up more gradually.
- Extra Gear: A portable battery can be a great help if you’re going to be taking a lot of photos, especially because cold weather will drain your smartphone’s battery significantly faster. Inner gloves that are touch-screen sensitive are also a must so that your hands won’t freeze when you have to take off your mitts to take the shot. Finally, an accessory that isn’t as necessary but can be a fun tool is a portable, ‘bendy’ phone tripod. These are great to attach to tree branches and anything else so you can take group photos or film yourself, especially if you have a remote clicker that you can press to have your phone take a photo.
Hopefully, with these tips and tricks, you’ll be ready to head out to the slopes and get some great photos this season. If you have any other advice that we missed in this article then share it in the comments below to help out everyone else.
Enjoy your newfound smartphone photography skills and be sure to tag @snowbrains on Instagram with your best shots.