Brought to you by Intuition Liners
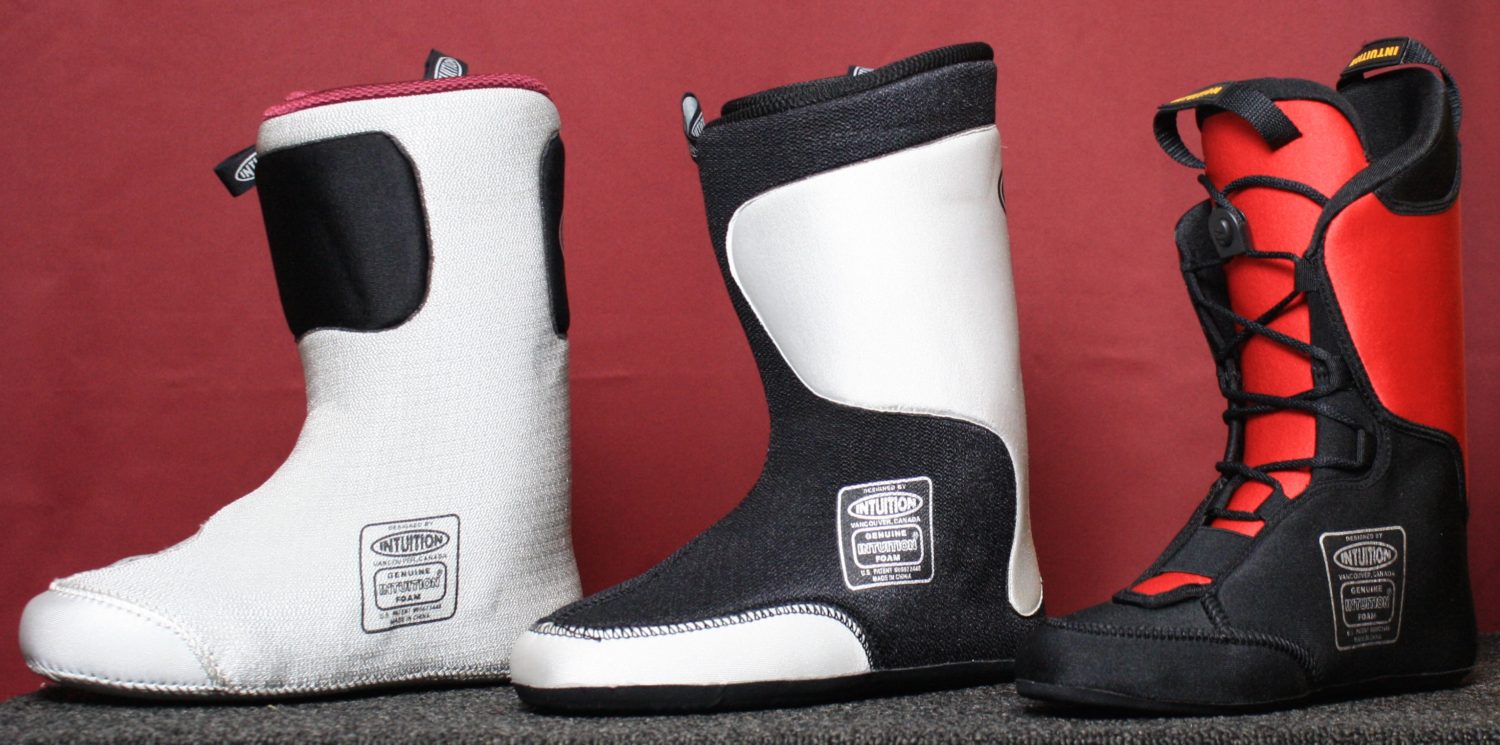
Here at SnowBrains, we’re all fans of Intuition Liners. They make liners for just about every snowsports application you could imagine, and the fit and performance is unrivaled.
Another great benefit is that if you don’t want to head into a ski shop, you can order liners right off their website and mold them at home. Every pair of liners comes with a home fit kit and it’s super easy to do. It just so happens I have a pair of liners that need molding, so I’ll walk you through the steps of how to do it.
Step one is to make sure you ordered the right size liner. I usually like to compare them in length to the stock liners that came in my boots. If they’re pretty close, throw them into your boot shells with your footbeds and try them on. They’re probably not going to feel too nice unmolded, but if they’re loose and sloppy, or incredibly tight, you may want to consider a different size or liner volume.
If things are looking good so far, you’ll want to put the liners back into your boot shells without footbeds for the moment. You also may want to check to see if you’re able to buckle your boots (while on your foot) with the new liner installed. You may need to move or adjust your buckles prior to the molding process.
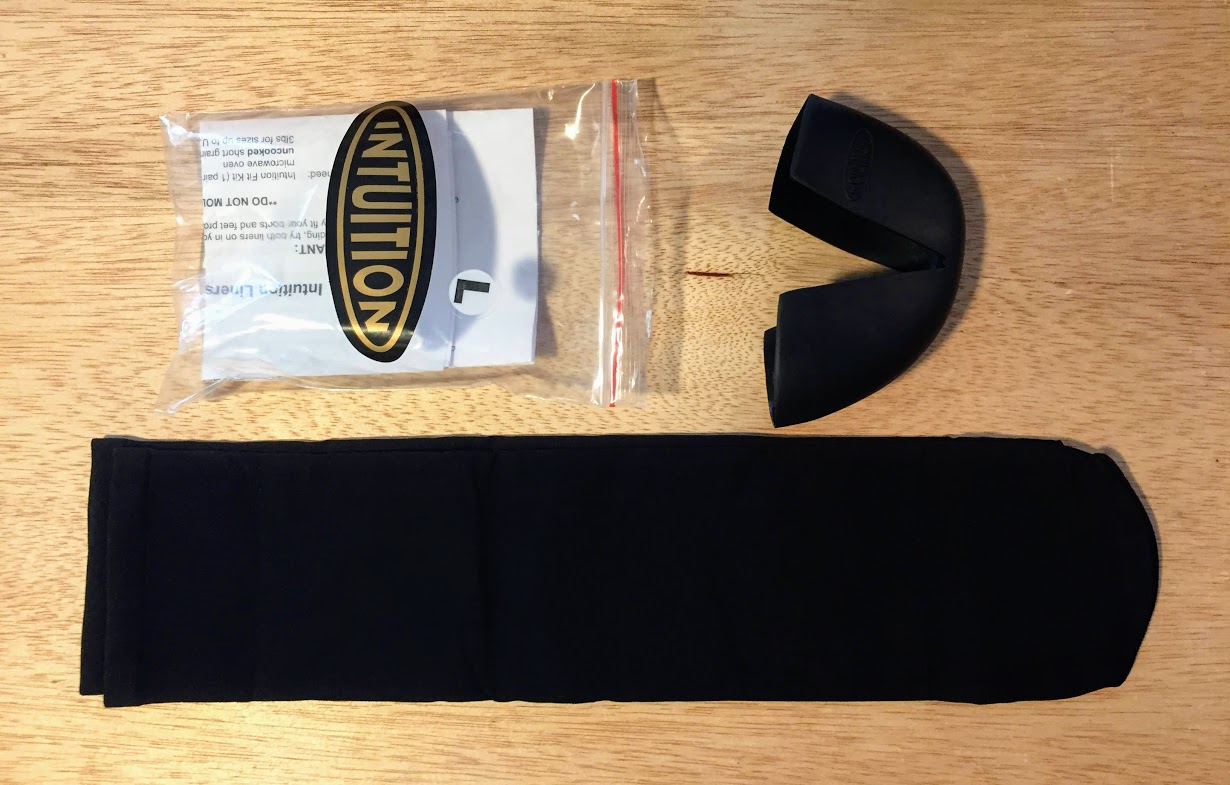
Your Intuition home fit kit came with a pair of thin black stockings. You want to fill a stocking with 3-4 pounds of uncooked, long-grain rice (not instant rice). Three pounds is good up to men’s size 9, four pounds is better for larger sizes. Tie the end closed, make a nice sausage shape, and throw it in the microwave for the appropriate amount of time (100-900W = 7min, 1000-1100W = 5 min, 1200-1250W = 4 min). Note, you may want some gloves to take it out of the microwave. It’s going to be quite hot!
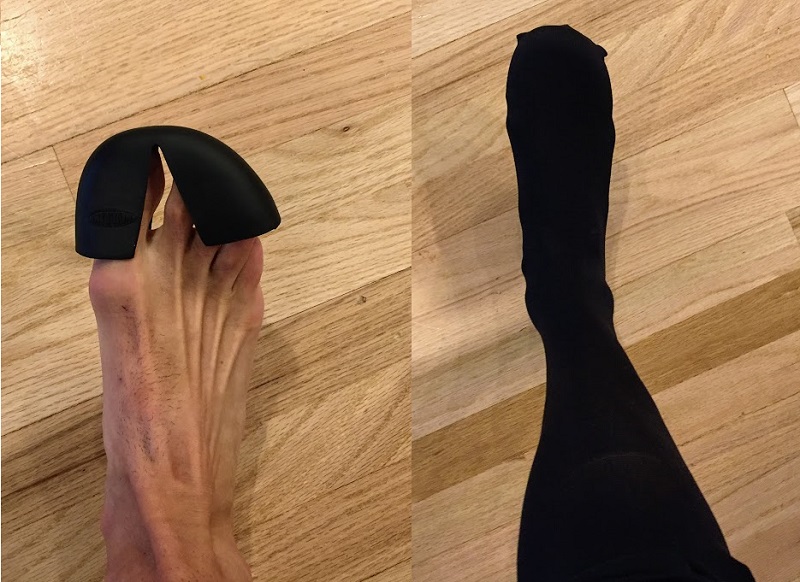
While your rice is cooking, it’s time to get your foot ready. Take the black rubber toe cap and put it over your toes (Intuition logo goes over your big toe.) Take the other black stocking that came in your fit kit and put it on your foot over the top of the toe cap. If you choose to use a ski sock instead, the thinner the better.
Take the rice sock out of the microwave and quickly insert it into the top of the liner (with the liner in your boot shell). You want to work the rice sock into the liner as far as possible for the best results. Stuffing it in with your hands doesn’t work that well, it’s better to tap the boot on the ground. First hit the heel, to get the sock down through the boot cuff, and then lean the boot forward and tap it on the toe to get the sock up into the toes. Having a friend slightly spread the boot shell during this process can be a helpful tip.
Now it’s time to let the liners heat. Refer to Intuition’s chart below for how long to do so. If you’re looking for a more aggressive mold, i.e. you need to compress the liner more for extra room, it’s best to let them heat for longer.

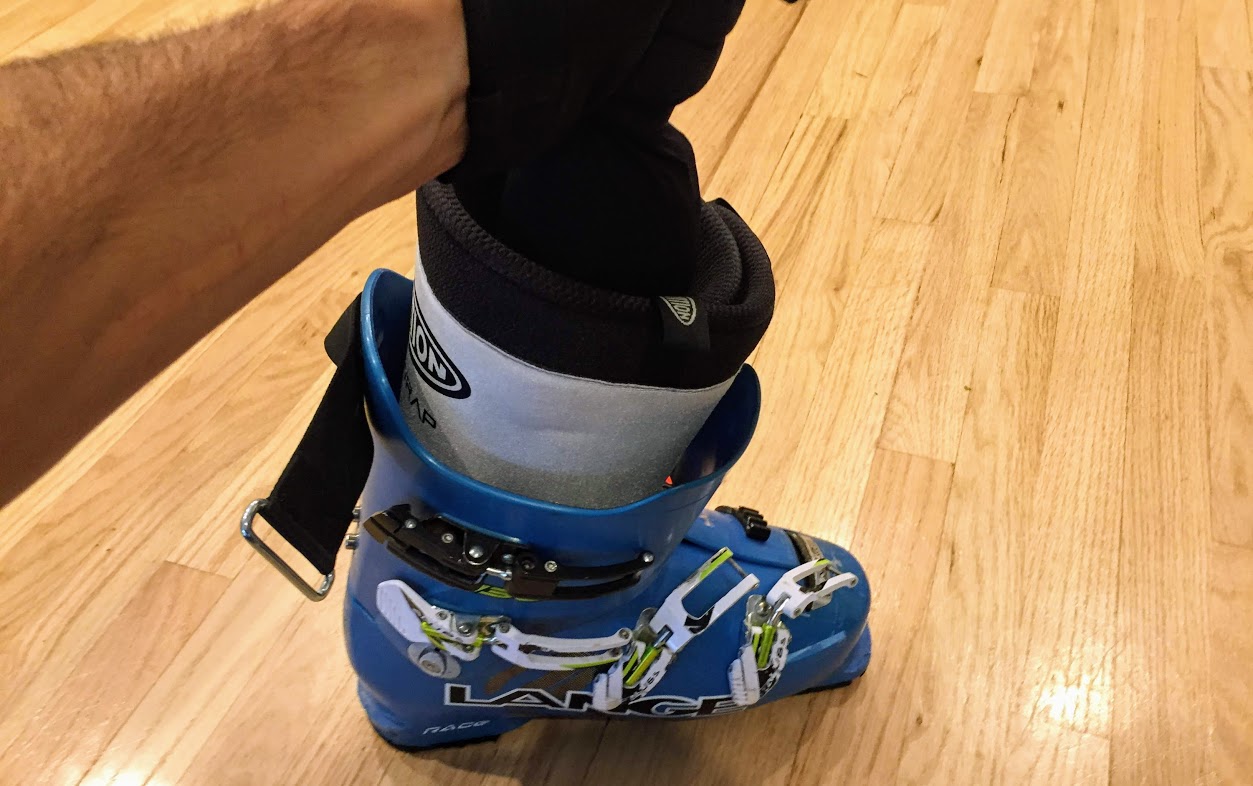
Once your liners are done heating, pull the rice sock out, insert your footbeds, and then get the boots on your feet as quickly as you can. I like to grab the back of the liner cuff and lightly pull up while pushing my heel down into the boot to make sure it’s fully seated. Lightly buckle your boots and stand still, knees slightly bent for 5-7 minutes. Elevating your toes with a book or piece of wood can help force your heel backward and form a nice heel pocket in the liner. With the toe caps on, this process is probably not going to feel awesome, but that’s ok.
That’s it! Repeat the process with the other boot and it’s time to go skiing. Give your new liners a few days on snow to break in a bit, and then it’s possible to make minor molding adjustments using a smaller amount of rice rather than remolding the entire liner.