In part 1 of this series, we discussed how to choose a pair of ski boots. Now that you’ve skied in them for a few days, you may be noticing they don’t feel as good as they did on day 1. Maybe your toes are crushed, your heel is coming up, or they are just starting to feel a little sloppy. Millimeters are miles in ski boots, so even a small change can have a dramatic feel. I usually get 3-4 days in a pair of boots before they need some additional work.
Here in part 2, I’m going to cover some common boot fit problems, and easy ways to remedy them at home without constant trips to the ski shop. It’s really not rocket science, and I’ve seen every one of these methods used by professional boot fitters. Let’s dive right in.
Problem #1: Your heel comes up when you flex forward. This one is pretty common and can be a confidence killer. There are two good ways to resolve this.
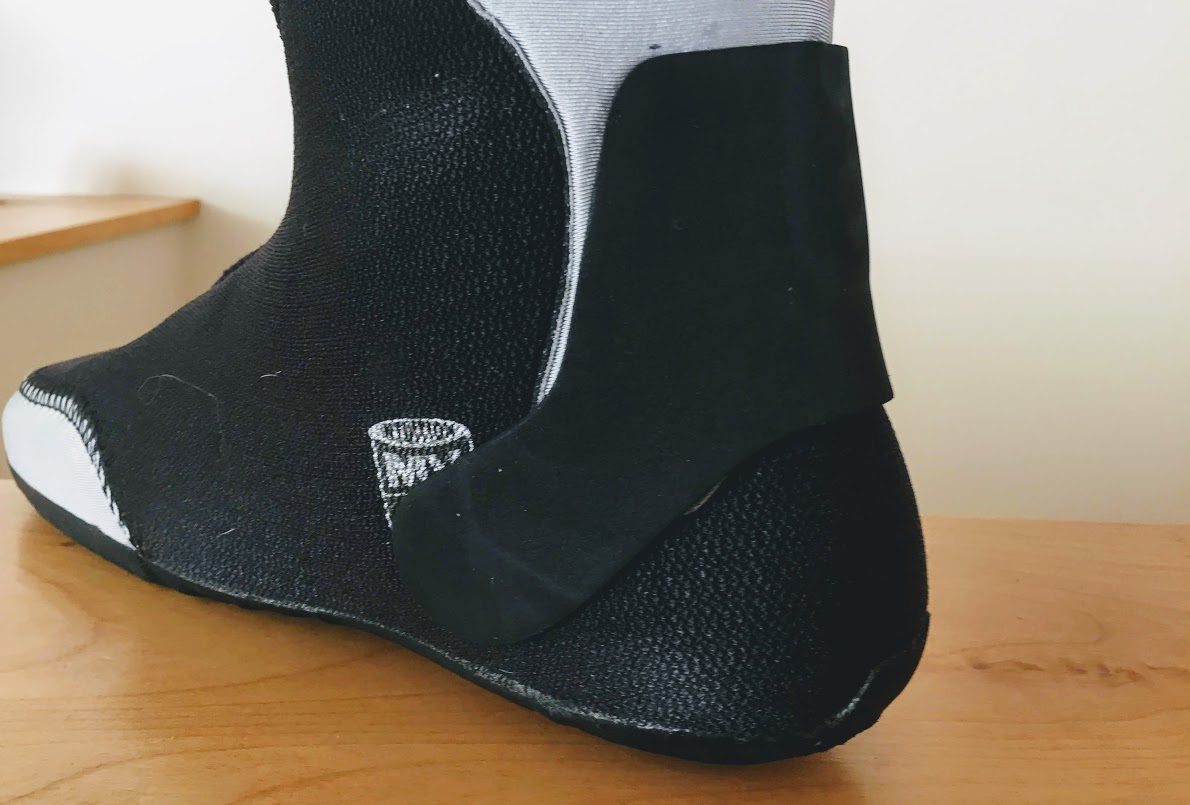
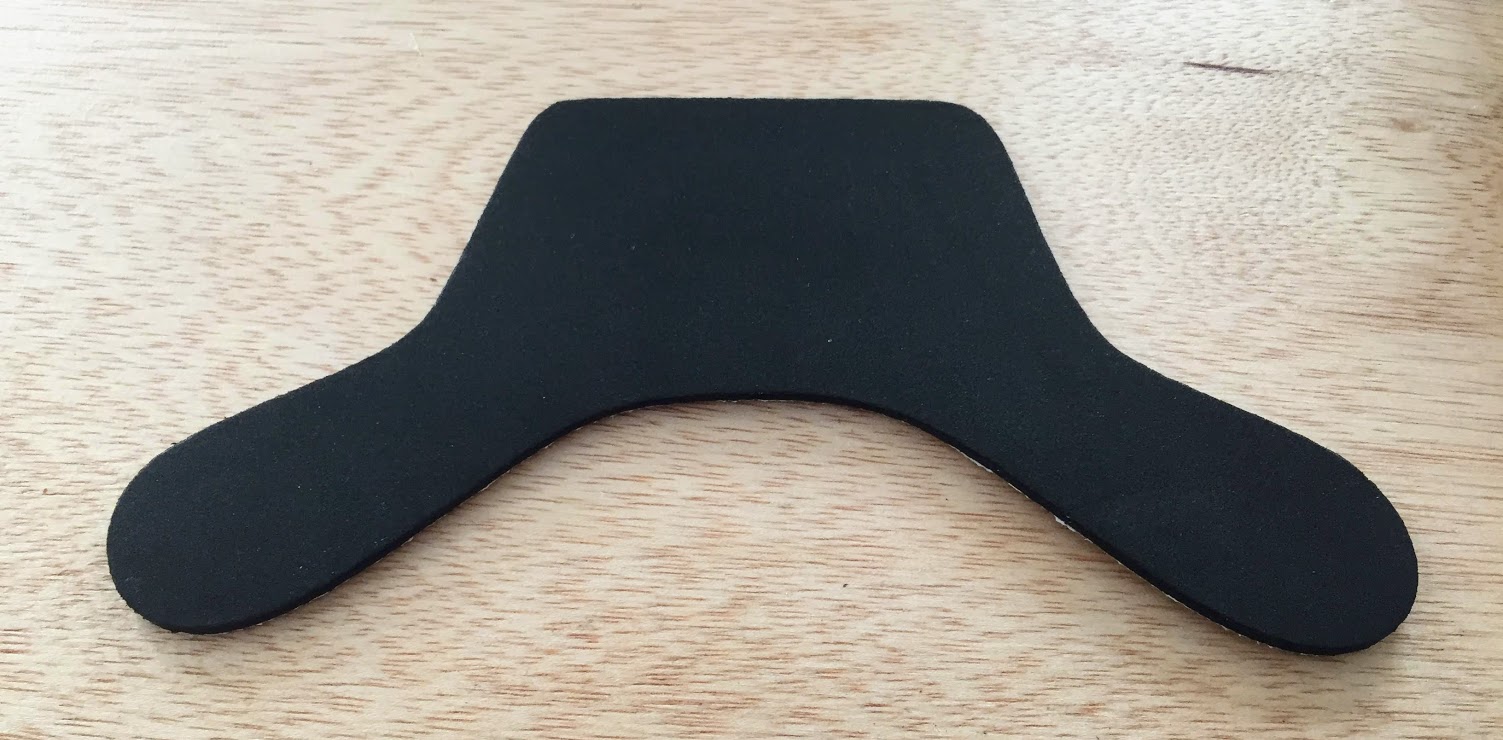
Solution number one is a heel wrap or “mustache wrap” with foam padding around the back of your liner. I inevitably need one of these in all my boots. The idea here is to make the liner conform better to the contours of your heel and ankle by creating a pocket for everything to seat into. You can buy pre-cut heel wraps online (Tognar Toolworks is a great resource), or I’ve also cut foam sheets from the arts and crafts store. You’ll want to place this on the outside of your liner, so the two “arms” wrap around the sides just under the bony parts of your ankle. A mustache wrap will move your foot forward slightly inside the boot shell, so if length is an issue, consider omitting the section directly behind your heel and going with more of a “J” shaped piece on each side.
Method 2 is a heel lift. As it sounds, you’re looking to place a small shim under your heel to essentially pre-lift it and give it no room to move any further. You can buy some ski boot heel lifts that are so bulky they resemble a doorstop. If you need something that big, you need to revisit part 1 of this series and consider new boots. In my boots, I’m generally adding a heel lift (a piece of an insole shim, see below) 1-2mm thick. It’s a subtle volume reduction that can make a bit difference.
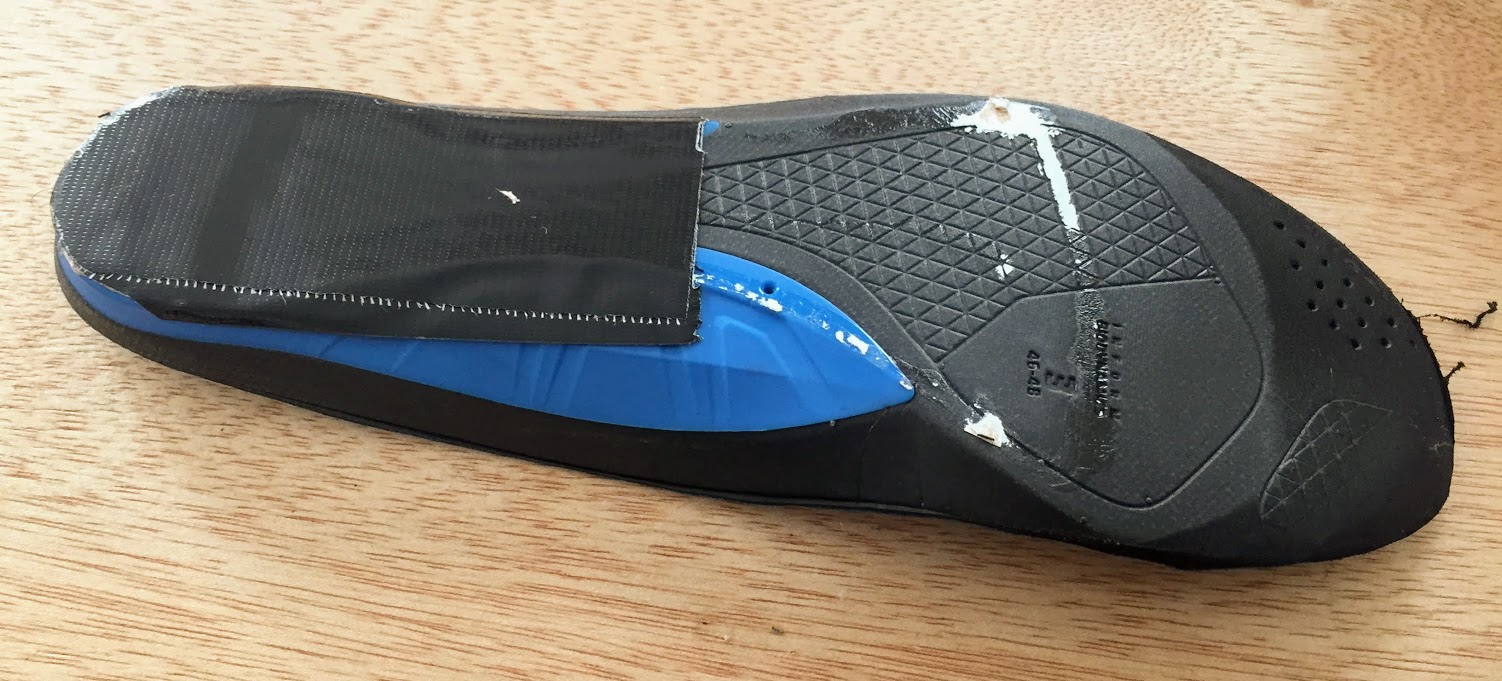
Problem #2: Your toes are getting crushed. Most of your control in ski boots comes from the heel and ankle area so a tight fit there is critical. Your toes are really just along for the ride, so make some space and keep them comfortable. I take most of my footbeds to the belt sander and thin out the toe area as much as I can. If you need even more room, you can consider sanding down your boot boards as well. If that’s not enough, you should probably give in and head to a decent ski shop.
Problem #3: The cuffs feel too loose. I’m a tall skinny guy, with long skinny legs. I often end up with a lot of room between my lower legs and the cuffs of my ski boot liners, which makes my boots feel sloppy. For the way I like to ski, I’m looking for consistent contact between my leg and the liner for maximum support and control.
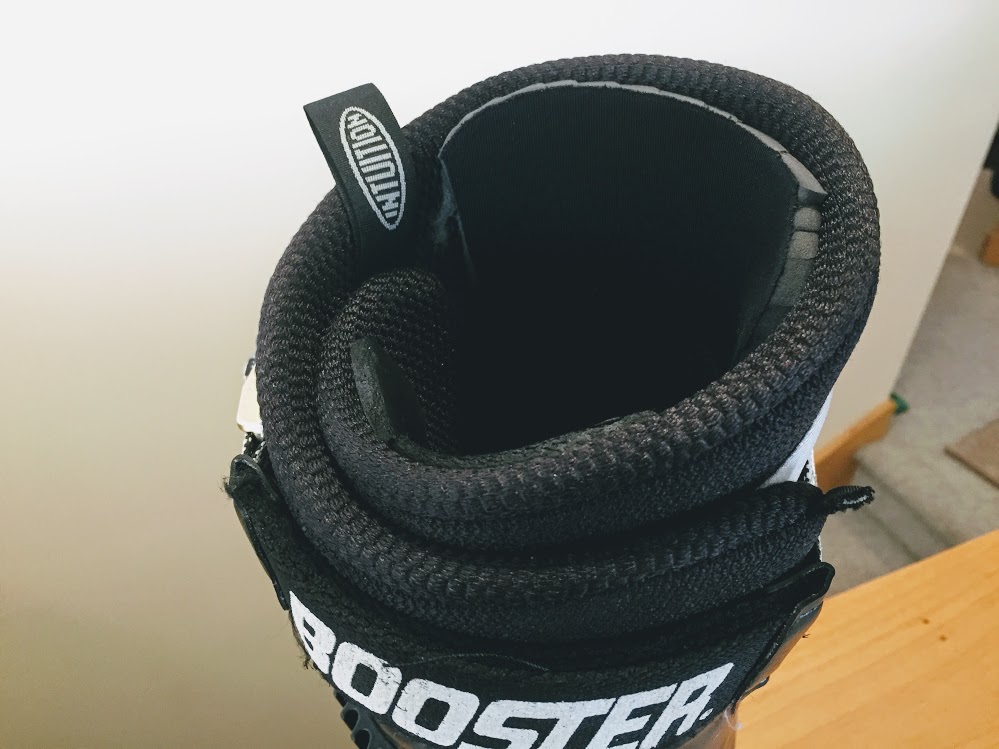
Solution number one here is a Booster Strap or similar cam-style power strap that you can really yank on to get your cuffs tight. I’ve never liked velcro power straps. They never stay as tight as I’d like, and they’re slightly more work to readjust. For me, Boosters do the trick.
Solution number two is some foam padding on the front and backs of the inside of your liners. I usually go front and back, but if you’re wanting to change your forward lean slightly in one direction or the other, consider only adding to one side. Superglue works like a charm.
I’ll also add some padding between the liner and shell if needed. In my current Lange RX 130, I had a bit of a gap between the shell and back of the liner that I could feel moving when skiing. Some strategically placed foam padding and problem solved!
Problem #4: Pressure points. The first thing to consider is if your foot is moving around a lot inside your boot. Often what feels like a “pressure point” is actually bruising on your foot from repeatedly slamming into the liner/shell. Some of the other remedies in this article should help with that.
If you do need to relieve a pressure point, consider adding some foam padding to the outside of your liners around the painful spot, not directly on top of it. You’re looking to move the painful spot away from the boot shell, rather than add padding to it, which will just make it worse. If that doesn’t work, you may need to head to a shop for some shell modifications.
Problem #5: Your boots generally just feel a bit loose and sloppy, no matter how hard you buckle them. There are quite a few solutions here.
An insole shim is a great option to try in this scenario for volume reduction. You can buy 1/8″ thick and 1/16″ thick shims online, or get creative with cardboard, tape, rubber, cork, cereal boxes, whatever you can think of. Place them directly under your footbed, or inside the shell under your liner, whichever you prefer. Generally, I cut the toes off of my insole shims since I don’t really want to take up any extra room there.

Second, consider some combination of all of the above boot fitting techniques. I have an insole shim, heel lift, and mustache wrap in every single boot I own. It’s just what works for my feet. Foam padding can also be applied to the outside of your liners just about anywhere you feel you need to take up space.
Third, a slightly thicker sock can go a long way. As mentioned in part 1 of this series, it’s best to start with a very thin sock so you can keep this option in the playbook. I’m a huge fan of the FITS Pro Ski sock, which has light padding in the heel and shin, which are places I need to take up space after my liners start to pack out. I start out with a super-thin sock and generally move to the FITS Pro Ski for most of the season.
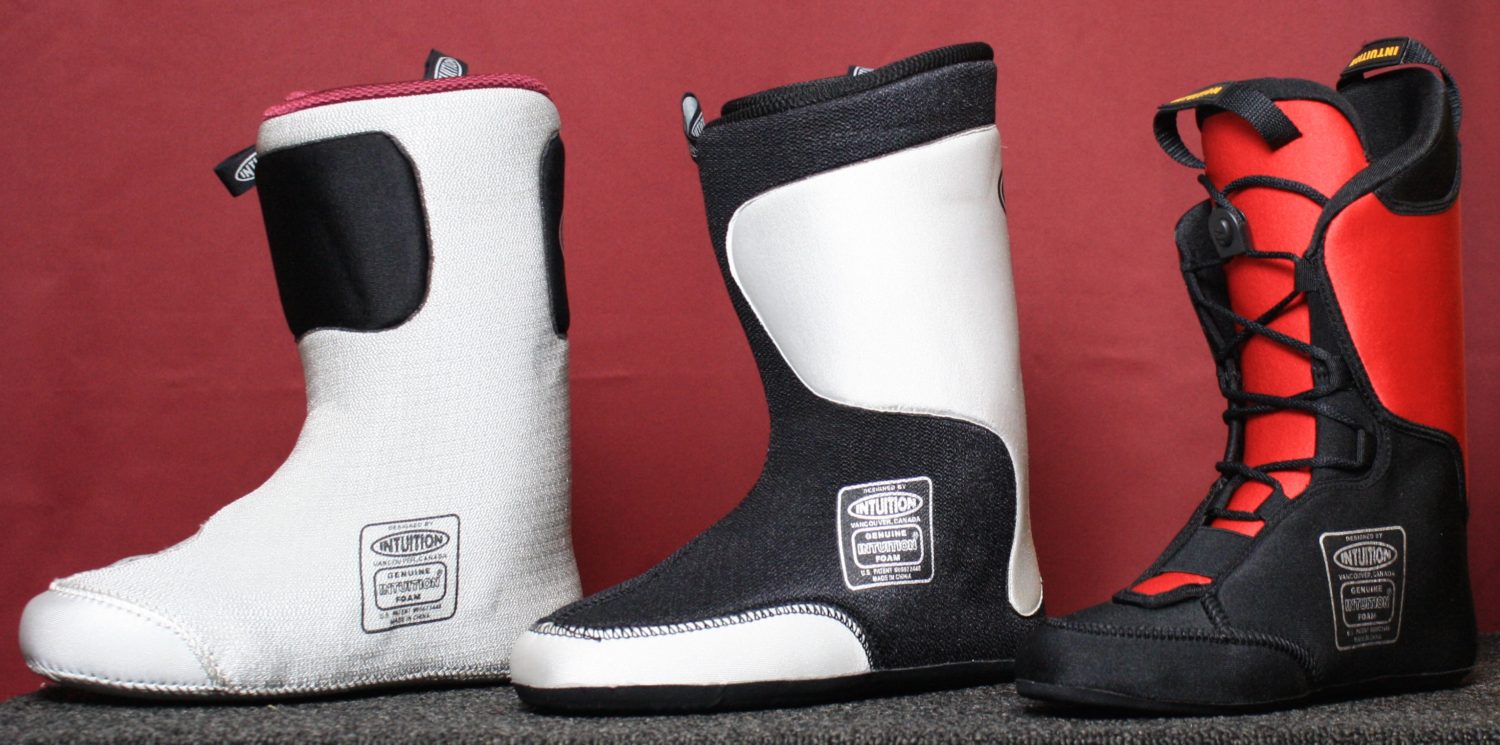
Depending on how many days you have on your liners, it may just be time for new ones. We at SnowBrains are huge fans of Intuition Liners for reasons you can read about here. It’s very brand dependent, but I’ve thrown stock liners in the garbage after only a few days, while others can be far more durable. I currently have Intuitions in all my boots.
Problem #6: None of my tips worked for you. Well, save yourself some frustration and head to a good ski shop. D.I.Y. boot fitting isn’t for everyone and I am by no means advocating against professional boot work. Some peope, myself included, just like to fiddle with their gear.
Ski boot fitting can be an ongoing process. Hopefully, some of these tips and techniques I’ve shared will eliminate some trips to the ski shop, save you a few bucks, and help you find the elusive perfect ski boot fit!
How about fixing some only occasional ankle bone poking issues without punching out the liner? Can you put extra foam right were the ankle bone is? or create a donut to keep it in place?
The donut method is a good place to start. I’d add a bunch of foam around (not directly on top of) the painful spot and see how that feels. Try the boot on, make some adjustments, repeat until it feels pretty good, and then go ski on it. It will probably take a few tries to get everything perfect.
Do you punch your own boots?
With my narrow feet, I’ve never had the need for a boot punch. Probably not something I would try on my own.
Thanks for the summary! You’re the first person I know who seems to have all the same issues with practically all boots that I have. (e.g. All the cuffs seem to be made for people with twice the lower leg circumference…). Encouraging, I’ll try some of the methods.
Can you provide a link to the mustache wrap?
Lots of good boot fitting stuff here:
https://www.tognar.com/ski-boot-fitting/
Love this. More useful stuff like this please.